Showing posts with label Review. Show all posts

Monday, March 10, 2014

Jamberry Nail Lacquer Review!

Well, hello there! 
I was recently given the opportunity by a friend to try out Jamberry's new line of nail lacquers and I promised to write a review on the blog about how I liked them and how well they wear. You might know Jamberry from their cute nail shields. Well, they're now expanding to nail lacquers! Yay!

Last Monday I decided to paint my nails with Jamberry's "Kiss". It's a beautiful bright pink with blue undertones. I usually find pinks and reds hard for me to wear because my skin has pink undertones and those shades tend to make me look like I have "lobster hands". This pink was perfect for me though. It's fun and bright but still manages to be classic. Something everyone could pull off. 

Below is a picture of my nails right after I painted them. I did three thin coats. I also used Jamberry's base coat and a top coat of Seche Vite. LOVE this shade!

So, how did it wear over the course of this week? 
WONDERFULLY!

I was NOT easy on my nails this week by any means! I had done a lot of cleaning around the house including cleaning with bleach and other harsh chemicals. I think this polish held up very well!

See for yourself!
Below are two pictures of my nails taken today, exactly one week after painting.
There is some obvious tip wear and nail growth but nothing that isn't to be expected from a week old mani! Also, I always have more tip wear on my right hand than I do on my left. Not sure why though because I'm left-handed! :P

As you can see, there is absolutely NO chipping! I did nothing to refresh the top coat and did not touch up this mani throughout the week because I wanted to give an accurate review on the product. 

Overall, I give this product an 8.5 out of 10.

I did not give it a 10 because of two factors: 
1. Price. At $15 a bottle, it's at the higher end of most brands of polish. Maybe not affordable for everyone but it's long wear time makes it good buy in my opinion.
2. I feel the opacity of this particular color could have been better. Like I said, I used 3 coats for this manicure to get the opacity I was happy with. When paying $15 a bottle, I don't really like to use up a ton of the product after only the first use.

Would I spend my own money on this nail polish?
Yes! I think that this color is unique enough that I don't have anything like it in my collection and it is a good quality polish.

If you are interested in purchasing any of the Jamberry nail lacquers, I can put you in contact with my friend who is a Jamberry consultant. :) These polishes are not available in stores but you can view the entire line on Jamberry's website, jamberrynails.net. :) 

Have a wonderful day! :) 
Lindsay

Tuesday, January 24, 2012

A shellac manicure and review!

So I had a week where I couldn't do my own nails....and I'm here to tell you I survived. :P
Haha the reason I didn't do my nails for a week is because one of my best friends got married this past weekend and I was in the wedding! It was a lovely winter wedding and we had a great time. Best wishes, Danielle and Scott! Anyway, as I was saying....I was a bridesmaid in the wedding and had to have a French manicure....for a whole week. Don't get me wrong, I love a good French manicure....just not when I have about 10 new bottles of brightly colored/glittered/duocrome lovely-ness waiting for me to use! (It was a GOOD birthday! :P haha)

I should mention that this particular French manicure was a shellac manicure. This was my first experience with shellac. Danielle's (the bride) step-mother works as a nail technician in her family's nail shop and she and her sister were so generous to close the shop on a Sunday and have all the ladies in the bridal party come in for free shellac manis. SCORE! Haha

So instead of a mani by me this week, I will be doing a review on how I liked the shellac manicure. (ALSO, I have figured out how to safely remove the shellac at home by myself. Stay tuned for another blog post on DIY shellac removal process! The ladies at the nail shop told me it couldn't be done and I would have to go back in to have it taken off...HA! :P)

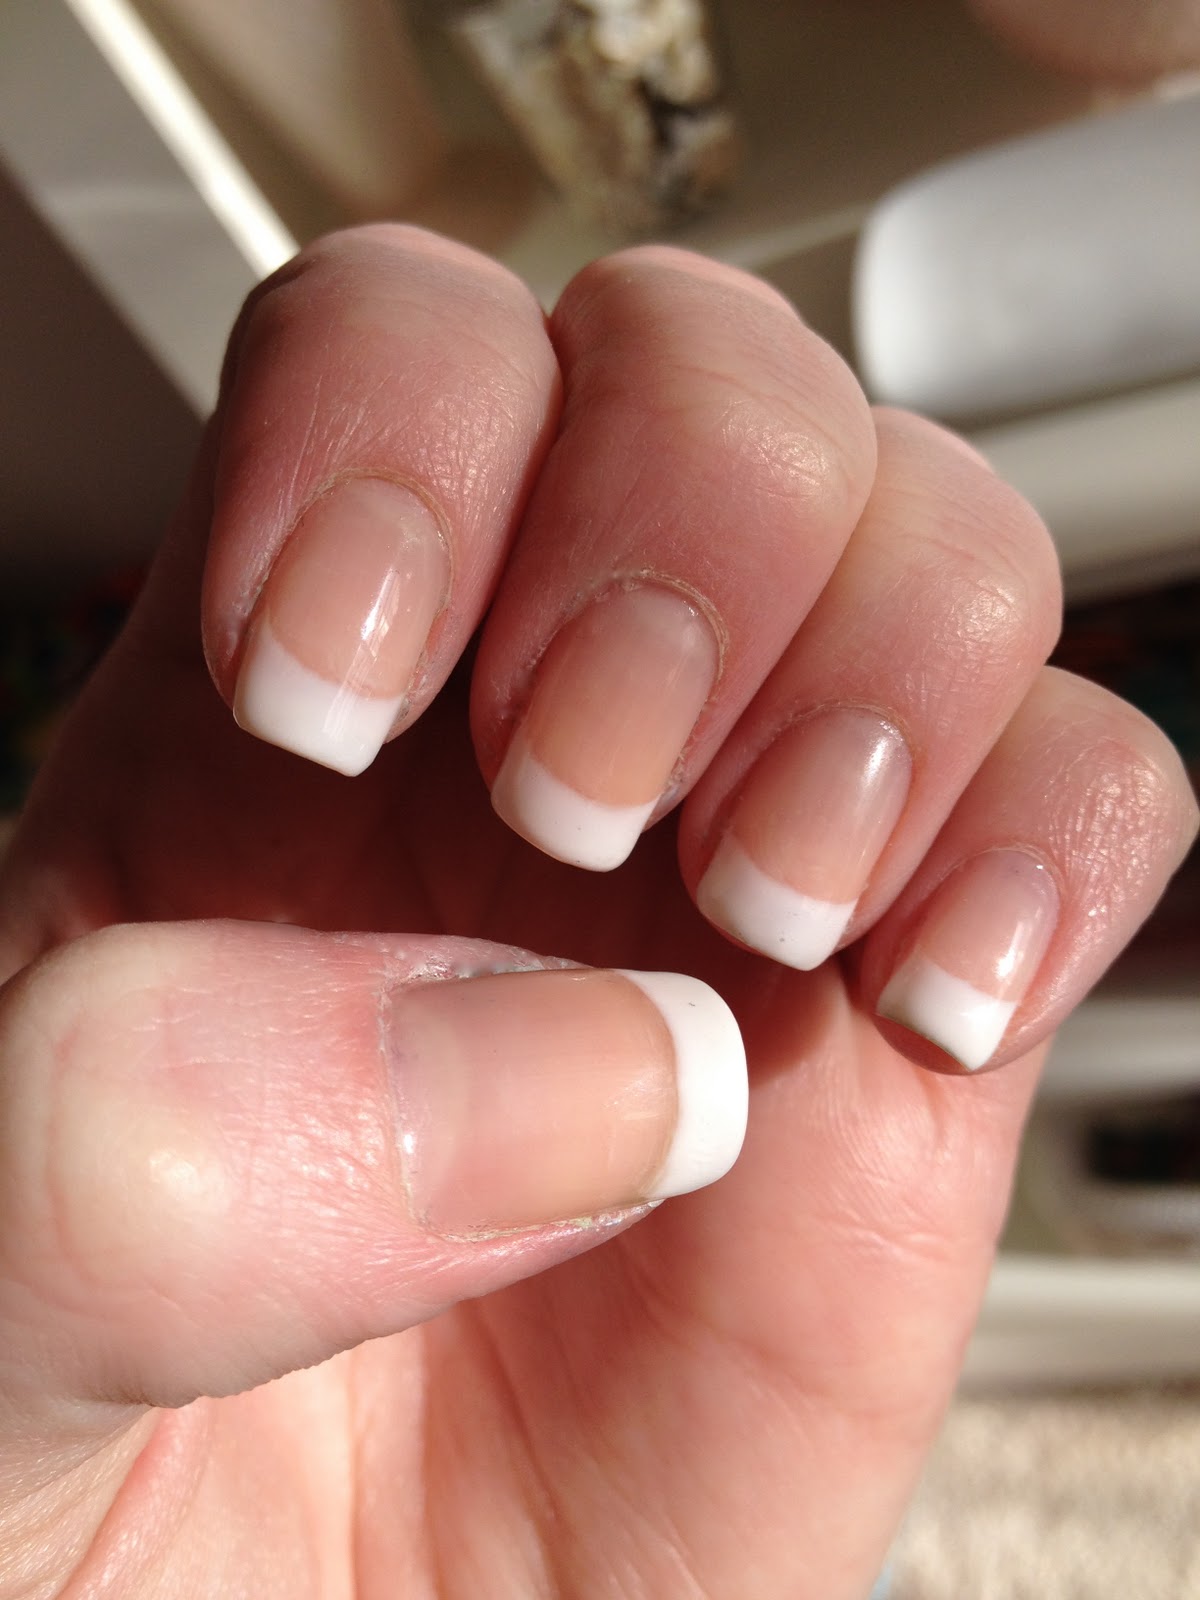
So if you know a little bit about shellac you probably know that it is advertised as a manicure that will last for two weeks and still look like new. As you probably already figured out, I had mine for exactly  one week. More on that in a bit. First I will show you some photos of my nails on the first day.

Pretty, right? Agreed. 

This is from the second day.
Excuse the cuticles. :/


This is day four...
Middle finger is really wearing at the cuticle.

And day five. You can really see it wearing by my cuticles. :/

See how it separating from the nail back by the cuticle? 
It was getting yucky under there and was kinda gross. 
I would have removed it on day four but they needed to last until the wedding!
(REALLY dry hands. Apologies. My skin doesn't like the winter. :/)

After day five things got really busy with the wedding and I didn't have a chance to take any more pictures of my nails...but it was getting bad. I wasn't very happy with the way it started to peel at the cuticle. I will say that the tip wear was very minimal, that was a plus, but I don't really have a job that involves typing or something that would typically wear that part of my mani. I did, however,  build a piece of Ikea furniture (My new Helmer for nail polish storage!!! I will blog about that another day!) with the shellac on and not a single nail chipped or broke...pretty good. Another plus is that I didn't experience yellowing of the white part of the French manicure like I usually do when I get/do a french manicure with just regular polish. (Am I the only one who has that problem?! It's gross.)

The shellac did seem to help strengthen my nails while it was on and I'm very happy to say that my nails do NOT feel weak/brittle after removing the shellac. That was something I was worried about.

Would I get a shellac manicure again? Maybe. I think it would be a perfect manicure for vacation when you don't really have the time or supplies with you to re-do or touch up your nails. Do you have a job that requires a lot of typing? (or do you work at Ikea as a funiture builder?! Haha) This may be a good solution for you. Do you have a job that requires a lot of hand washing? If so, I'm not sure this is a good solution. I say that because the 3 year old that I watch has been potty training and I've probably doubled the amount of times I wash my hands recently because we "try" on the potty about double the amount of times I was changing diapers....just in case! Haha I don't think that water and soap (and then moisturizer for my very dry hands!) was helping once the shellac started to peel at the cuticle.

Would I get a shellac manicure on a regular basis? No. I personally don't like to keep the same color on my nails for more than a week. That's just me. I get bored and want something new and exciting. (ADD? Maybe....don't judge me.) Also, I wasn't thrilled with how the shellac started to separate from my nail at the cuticle. It aggravated me. I think that the whole "two weeks looking like new" is a stretch. It did not look like new after one week...I wouldn't even allow it to get worse than that to see what it would have looked like after two weeks. Haha

So, if you're thinking about trying out shellac, go for it! Let me know in the comments how you like it. If you've already tried it let me know what you think about it in the comments.

Like I said...my next post will probably be on how I removed my shellac mani. And no, I didn't peel it off!
Stay tuned! :)

Lindsay