Monday, December 31, 2012

New Year's Eve 2013 Manicure!

Hello all! Long time no see! So sorry about that. The holiday season got the best of me and I didn't have a single second to do a blog worthy manicure. :( 
...but here I am! :D Back with a New Year's eve manicure! 
I decided to do a city skyline with fireworks in the the sky! This was actually a pretty easy mani to achieve. I started with a navy base and then sponged white on the tip. (this is the first time I've really tried to do sponging...and I'm happy with how it turned out!) Once the sponging was dry I used "Northern Lights" top coat to add a little sparkle. (If you are not familiar with Northern Lights...google it now. It's fabulous!) Then I hand painted the skyline with black polish and a small artist's brush (this was the most tedious part...but still not that bad) and then I used the same brush to paint the fireworks! :)


Hope you all have a very happy and safe new year!!!
Lindsay

Tuesday, October 30, 2012

Halloween (hurricane!) Monster Nails!

Well, I hope that you are able to read this post in your warm, dry, well-lit homes after Sandy made her way through. We are dry...but warm and well-lit we are not. Our power is still out. :( I had to come to my parents' house to make this blog post. If there was anything good about Sandy it's that she freed up my schedule and I was able to spend some quality time with my husband and also able to do a manicure....even if I had to finish it in the dark! haha
Painting my nails by candlelight. :P

 My little monster nails! 
 Sorry it's blurry. :/ Didn't really get a good one of my thumb.

My favorite is the one with the tail. ;)

Happy Halloween to all! Stay safe and eat lots of candy! :)
Lindsay

Thursday, September 6, 2012

GO O's!!!

Well, Hello there! Two blog posts in one week?! Am I feeling alright?! :P

Today I have a Baltimore ORIOLES manicure to show you! I am not a huge sports fan but the one sport I can understand and enjoy going to watch is baseball...and since I am from Baltimore I like the O's...naturally! They happen to be doing pretty well this season and I know everyone in Baltimore is pretty stoked about it. 

Besides the fact that they are doing well, I have a few other reasons to have my nails like this!
Tonight I will be going to the O's game with my dad, sister and my husband. It's a special game because they will be unveiling the statue of Cal Ripken Jr. at Camden Yards. (Today is also the 17th anniversary of Cal Ripken Jr. breaking Lou Gehrig's record for consecutive games played...2131!) Oh, and they're playing the Yankees...bringing my team spirit is a must!!!
 On Saturday, my husband's cousin is getting married and the wedding has an Oriole theme (Congrats Jenn and Derek! :D) and I will be going to another Oriole game next Tuesday! 

So, I hope you enjoy the design I came up with! It was a tough one! The striped nails are done with tape and the "O" and The Bird are painted by hand...
Yes...I'm crazy. ;)
GO O'S!!!!!!


Thanks for reading and don't forget to click the blue button on the right that says "Join this site" so that you can follow Manicure What Ails You! 
Peace, Love and Home runs! 
.....for the O's...not the Yankees! :P
Lindsay

Monday, September 3, 2012

A Rainbow Dotticure!

For today's post I have a spotty dotty manicure...or a "dotticure"! :P I was feeling really uninspired when it came to my nails this weekend so I decided to try something new. I wanted to go for a rainbow look so I used a few different shades of each color and a dotting tool and this is what I came up with! I thought it was fun and different than my usual mani. I may be trying this in other colors soon! It's SO easy! Look how cheery the rainbow colors are! :)


Thanks for reading! I hope you had a wonderful holiday weekend! :D

Saturday, August 25, 2012

Blue Glitter Explosion!

I just love the clean look of a tape manicure! Can't beat it in my opinion! Today I did an "explosion" design using Essence Colour & Go in "Grey-t To Be Here", Essence Colour & Go in "Black is Back" and OPI's "Absolutely Alice". The colors kinda go with the weather today...dark and cloudy. I like it though! 

I even ended up doing this design on my toes! This RARELY happens! I usually end up having a manicure that doesn't match my pedicure. Mostly because I hate giving myself a pedicure. :P LOVE painting my fingernails....not so much the toes. Oh well! 

Enjoy the Blue Glitter Explosion mani!


With a flash.


Toes! :P

....toes again!


Hope you're having a wonderful weekend! 
Lindsay ;)

Saturday, August 11, 2012

Converse nails!

Our friends, Ben and Laura had a lovely converse themed wedding yesterday and I just HAD to have nails to match the theme! 
 With my shoe. :P

With my trusty bottle of Seche Vite!
Me and the bride. :)
Congrats to the happy couple! :D
I'm so glad I was able to be there (with an appropriate manicure!) to celebrate such a special day! 

Friday, July 27, 2012

Olympic Manicure!!!

I don't know about you but I LOVE the Olympics! 
I really don't think anything makes me feel more patriotic. :P I couldn't resist doing a festive olympic manicure! I'll be tuning in to watch the Opening Ceremony tonight ...and my nails are ready for it!

This was a fun (but really hard!) manicure to do!

Yes, I hand painted those teeny little rings...what was I thinking??? :P

London 2012!!!


Just so happens that I used a Nails Inc. LONDON polish (Baker Street) for this manicure. :P
Are you all as excited for the games as I am?! Will you be doing an olympic mani for the occasion? I wanna see!

Have fun,
Lindsay

Tuesday, July 24, 2012

The mother of all top coats!

Out of all the questions I get asked about nails "What top coat do you use?" is definitely number one on the list. The more often you paint your nails the more you will realize how quickly they chip without a nice top coat.
So without further ado...the mother of all top coats:
Seche Vite!!!
If there is anything you need the most in your manicure arsenal...it's this! Seche Vite is a fast dry top coat that will give your manicure the shiny look you get after you have your nails done in the salon! Seche Vite is guaranteed not to yellow and makes your nails stronger and resistant to chipping and peeling.

The trick with Seche Vite is to make sure you apply it before your polish is completely dry. The nail polish needs to be "wet" (let it dry for about 3 minutes before applying Seche Vite) so that the Seche Vite can penetrate through the nail polish to the base coat forming a single solid layer over the nail plate. This is what makes your manicure much more durable. Also, be sure to wrap the free edge of your nail with the top coat. (Run the brush along the edge of your nail.) This also helps to prevent chipping.

Where to buy it! 
I have seen Seche Vite sold in many cosmetic stores/sections such as Ulta, Target and Walmart but it's a least $9.95 there. I buy mine at Sally Beauty Supply for $6.99!

Hope this helps! :)
Lindsay


Monday, July 16, 2012

Easter in July!

I've really been into pastels lately and really love the color combo on this tape manicure!
I used some classic pastel polishes from my stash and a new one that is out in a recent summer collection.
Here's what I used:
Essie Lilacism (my favorite lilac polish!)
Orly Cotton Candy 
China Glaze Re-Fresh Mint
Essie Bikini So Teeny (From the Essie 2012 summer collection...love the name!)

 The colors looks so clean and fresh together! I got so many compliments on this mani!

...and now...the elusive right hand! hahaha
So, what do you think? Are you as into the pastel as I have been recently?

Hope you are all enjoying your summer! It's been a hot one!!! Even more reason to stay inside and give yourself  a manicure! ;)
Stay cool,
Lindsay

P.S. I've had a request to do some tutorials. Are there any particular manicures YOU would like to see a tutorial of? Please comment and let me know! :D

Thursday, June 28, 2012

Healthy Nail Care Tips


Since I've started this blog and people have taken notice of this hobby of mine, I've been getting more and more questions related to nail care.
"How do you grow them so long?"
"Why do my nails always peel?"
"How do I keep the polish from chipping the day after I paint my nails?"

So this post will be a work in progress. I will try to update this with general nail health tips and answers to questions I am often asked.
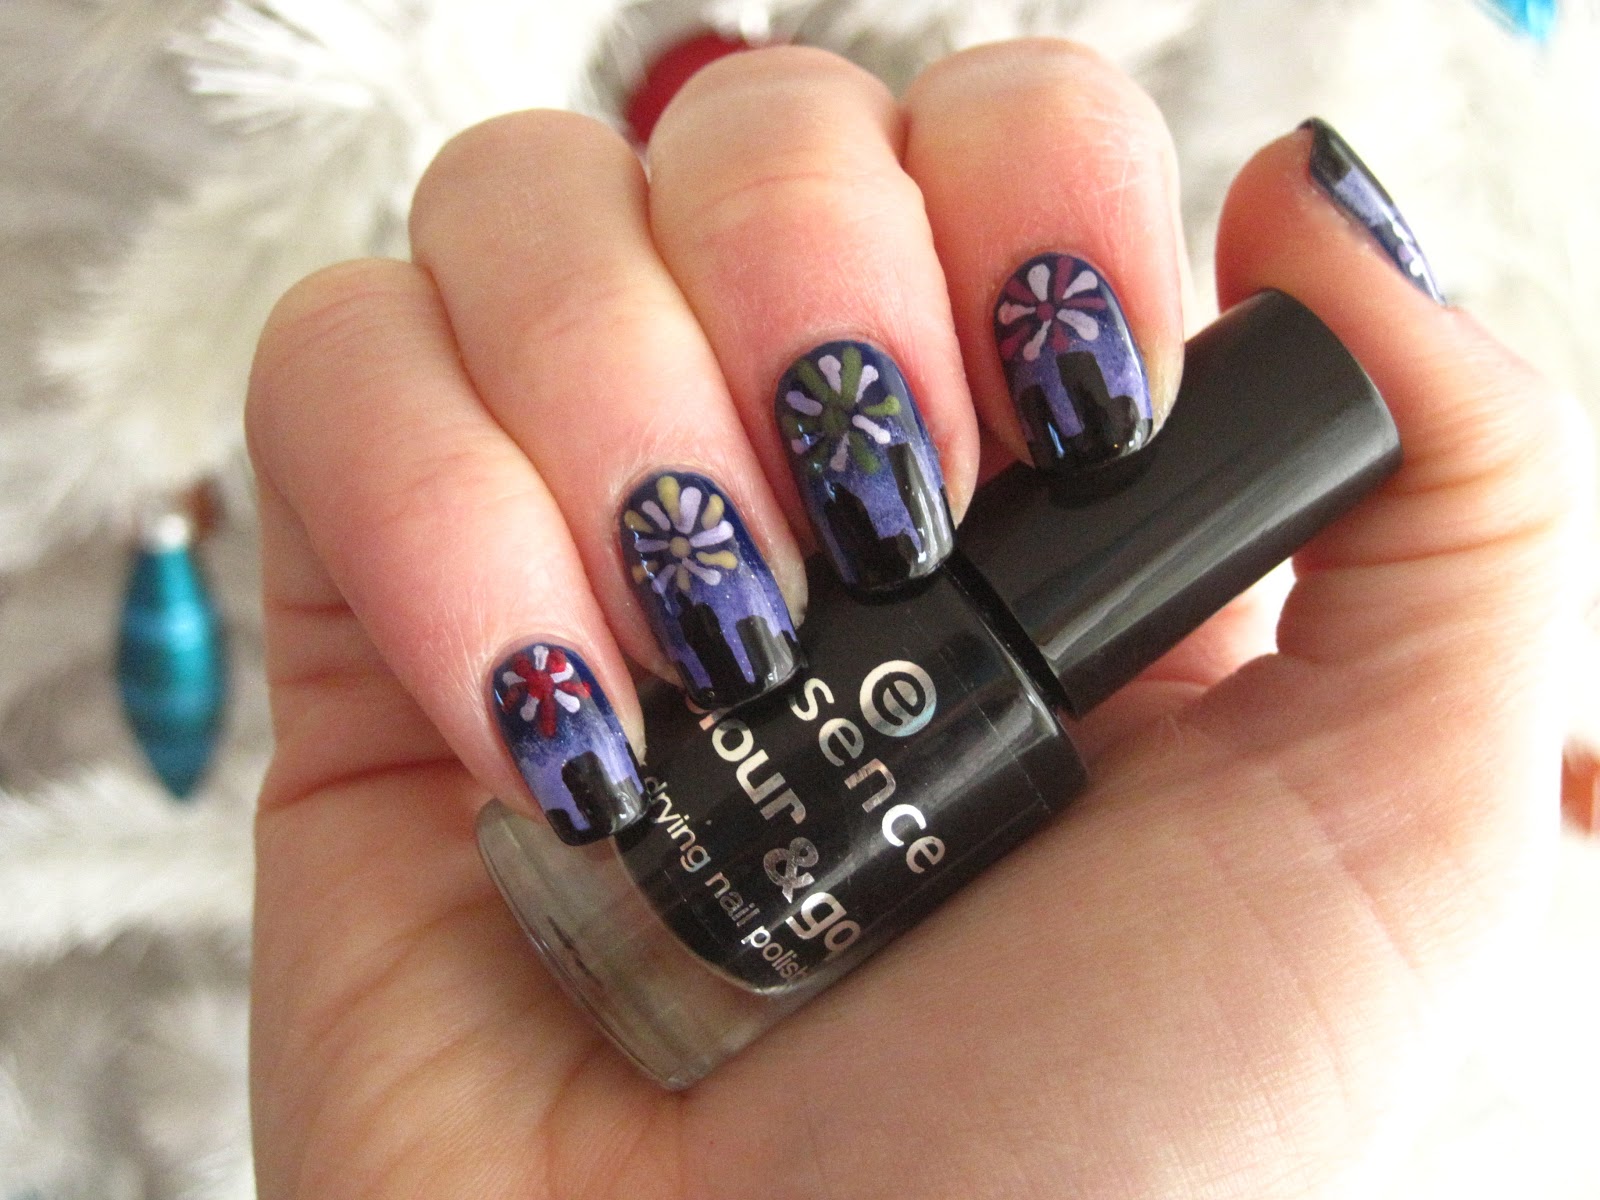
AHHH! Don't look at me! I'M NAKED! :P

  • "How can I get my nails to grow?"
There are a couple of things that can help nail growth. First, make sure you're eating healthy and drinking plenty of water! (You already know that though!)
I personally take a Biotin supplement (found in drug stores, target etc).
This is the one I take and I purchased this from Target. It really does help your nails grow long and strong. I sometimes find myself annoyed at how long they are! 
BONUS: It will also help you hair grow long and strong as well!

You should also make sure you're keeping your cuticles and nail bed moisturized. Some products I've tried and really liked are: 
LUSH's Lemony Flutter Cuticle Butter

OPI's Avoplex Cuticle Oil To Go


CND's Solar oil

California Mango Mend


  • "Why am I getting peelies at the edge of my nail?"
You need to perfect your filing and maybe get a better nail file. Never EVER use a "sawing" motion when filing. This is the main cause of "peelies". Always file in one direction and NEVER FILE YOUR NAILS WHEN THEY ARE WET! It will cause your nails to peel and tear. Yuck.
The next thing to address would be what kind of file you are using. You may need to look into a better file.
If you are you are using this kind of file...
...you should pretty much just kiss any kind of nail health goodbye. :P Metal files are gross. You are only accentuating the peeling with this and you're better off using the sidewalk to file your nails.
A better (and cheap!) alternative are the Tropical Shine Files that can be found at Sally Beauty Supply.

I have this one:
I use the Tropical Shine Blue file 220/320 grit for taking down length and shaping.

I also have this one:
I use the Tropical Shine Pink file 400/800 grit for sealing the nail edge.

What is "sealing the nail edge", you ask? Well, my dears, it is an essential step for avoiding those dreaded PEELIES!
After you are finished taking down length/shaping, hold your finer grit file at a 45 degree angle to your nail and rub the file upwards along the edge. You're not holding the file horizontal to the nail like you would if you were taking down length.
I hope my bad photoshop arrows help.... :/

 Repeat this process in a downward motion...

Then get the corners of the nail by hold this file as shown in the picture below and pulling the file upwards.
You've just sealed the free edge of your nail! Go, YOU!

Another file I like is the Nail Tek Crystal File.
 It's a little more expensive but it's great for keeping in my purse and for travel. It's a pretty versatile file and the grit will never wear off. It also comes with a handy little case so the other things in your purse don't get scratched! I don't really like to use it for taking down length though (it's a finer grit) because it takes forever. That's why I use my Tropical Shine files at home. 

I hope this post helps and I plan on updating it soon with more answers to your questions!
Do YOU have a question you would like me to answer here? Feel free to ask! 
I would love to help if I can! :)